Your hips are the engine room of athletic movement. Every jump, sprint, cut, and squat starts there. But here’s the thing most athletes don’t realize until something goes wrong: tight hips don’t just limit your range of motion—they actually steal power from every movement you make.
I’ve watched countless gym-goers load up the squat rack while their hips scream for help. They compensate with their lower back. They shift their weight awkwardly. And eventually? Something gives.
The good news is that hip mobility isn’t some genetic gift. It’s a skill you can develop. Let me walk you through exactly how to do it.
Why Hip Mobility Actually Matters for Athletes
Think of your hips as a ball-and-socket joint with six degrees of freedom. When that joint moves freely, force transfers efficiently from your lower body through your core to your upper body. When it’s restricted, your body finds workarounds—and those workarounds create problems.
Tight hip flexors pull your pelvis into anterior tilt, compressing your lumbar spine. Limited internal rotation forces your knees to cave inward during squats and landings. Poor hip extension robs you of glute power during sprints.
The research backs this up. A 2019 study in the Journal of Sports Sciences found that athletes with greater hip mobility generated 12-18% more power during explosive movements compared to those with restricted ranges.
Step 1: Assess Your Current Hip Mobility

Before you start stretching everything, figure out where you’re actually limited. Not everyone has the same restrictions.
The 90/90 Test
Sit on the floor with your front leg bent at 90 degrees in front of you and your back leg bent at 90 degrees behind you. Your shins should be roughly parallel. Now try to sit up tall with a neutral spine.
Can’t keep your torso upright? That indicates limited internal rotation on the back leg or external rotation on the front leg. Note which side feels tighter—most people have a dominant side that’s significantly worse.
The Thomas Test
Lie on a bench or table with your legs hanging off the edge. Pull one knee to your chest and hold it there. Watch what happens to the other leg.
Does your thigh lift off the surface? Tight hip flexors. Does your knee straighten out? Tight rectus femoris. Both? You’ve got work to do.
Deep Squat Assessment
Simply drop into your deepest squat with feet shoulder-width apart. Where do you feel restriction? Does your lower back round? Do your heels come up? Do your knees cave in?
These answers tell you exactly what to prioritize.
Step 2: Release the Soft Tissue First
Stretching a muscle that’s locked up in protective tension is like trying to stretch a rubber band that’s frozen. You need to release the tissue first.
Grab a lacrosse ball or foam roller. Spend 90 seconds to 2 minutes on each of these areas:
Hip Flexor Complex
Lie face-down with a lacrosse ball just below your hip bone, slightly toward the inside of your thigh. This is your psoas and iliacus—the deep hip flexors that get absolutely brutalized by sitting. Find a tender spot, breathe deeply, and let the tissue release. Move the ball around to find 2-3 different spots.
TFL and IT Band
Lie on your side with a foam roller under your outer hip, just below the bony prominence. Roll slowly from your hip to mid-thigh. When you find a gnarly spot, pause there for 20-30 seconds.
Glute Medius and Piriformis
Sit on a lacrosse ball positioned in the meaty part of your glute, slightly toward the outside. Cross one ankle over the opposite knee to increase the stretch. Small movements here—you’re not rolling, you’re hunting for trigger points.
Step 3: Mobilize the Joint Capsule

This is where most people stop, but its actually where the real gains happen. Soft tissue work addresses muscles. Joint mobilization addresses the capsule itself—the connective tissue that surrounds the ball-and-socket.
Hip Capsule Stretch (Posterior)
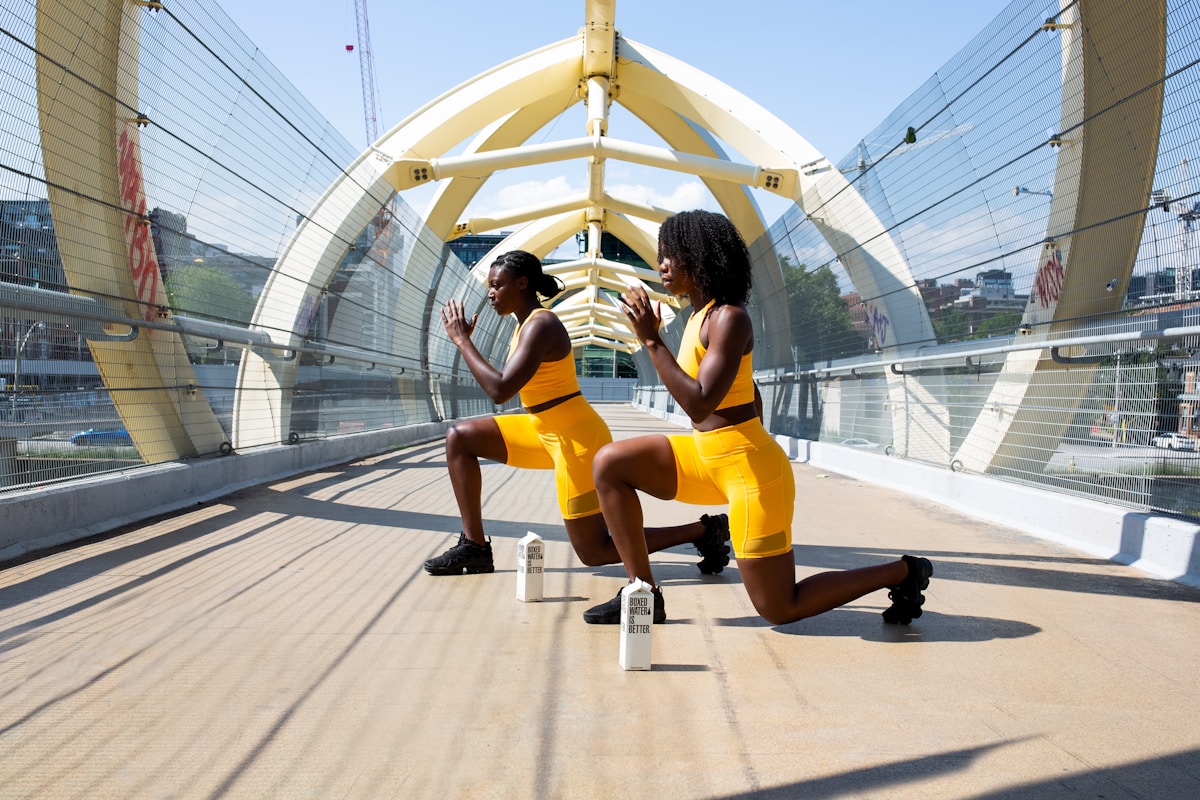
Get into a half-kneeling position near a wall. Place your back knee about 6 inches from the wall. Now shift your hips back and toward the wall at a 45-degree angle. You should feel a deep stretch in the back of your hip socket—not your muscles, but the joint itself.
Hold for 90 seconds each side. This one feels weird at first, but it’s incredibly effective for improving squat depth.
Banded Hip Distraction
Loop a heavy resistance band around a squat rack at hip height. Step into the band so it wraps around your hip crease (where your thigh meets your torso). Step away to create tension, then perform various movements: hip circles, lunges, squats.
The band pulls the femoral head away from the socket, creating space for movement. Do this for 2 minutes per side.
Step 4: Build Strength Through the New Range
Here’s where most mobility routines fail. You gain range of motion, but you don’t own it. The next time you train hard, your nervous system panics and locks everything back up because you have no strength or control in those end ranges.
90/90 Hip Lifts
Return to that 90/90 position from your assessment. Now try to lift your front knee off the ground while keeping your torso tall. It’s harder than it sounds. Do 10 reps per side, holding each lift for 3 seconds.
Lateral Lunges with Pause
Step wide into a lateral lunge, sinking as deep as you can control. Pause at the bottom for 3 seconds. You’re building adductor strength at length—crucial for hip mobility and for preventing knee issues during lateral movements.
Deep Squat Holds
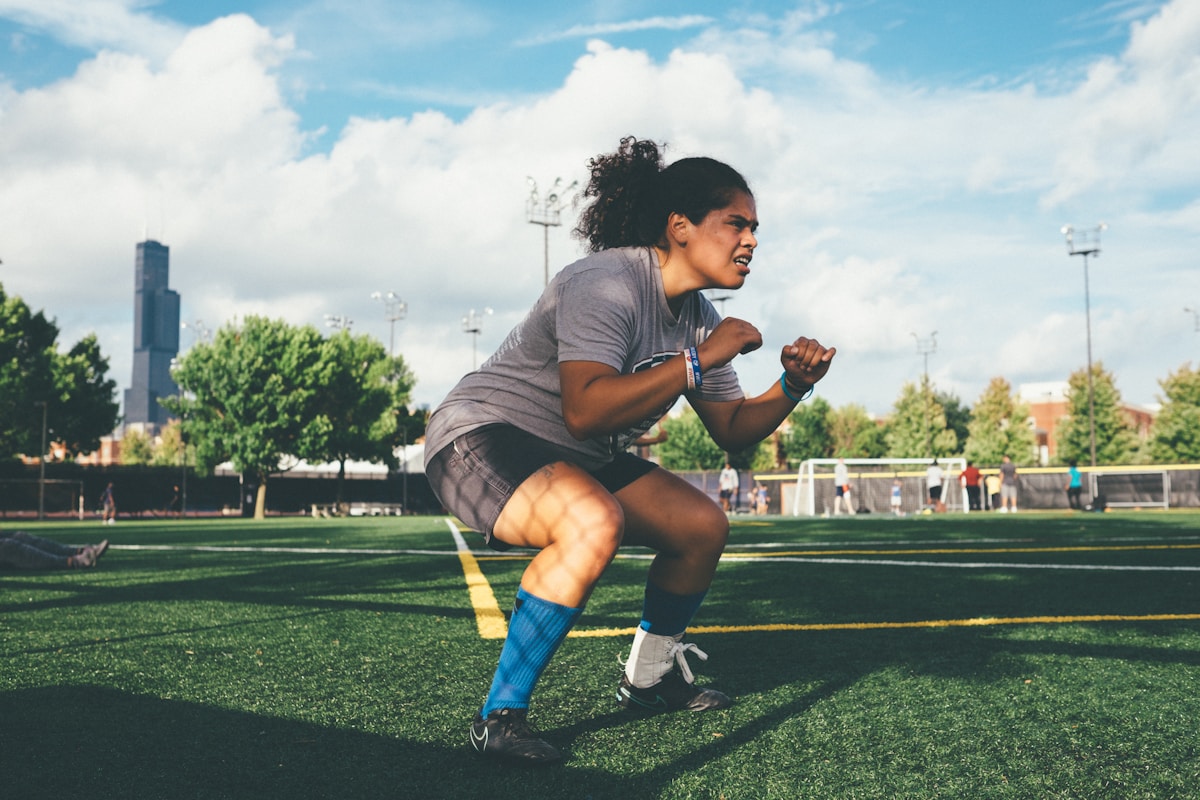
Simply sit in the deepest squat you can manage. Use a doorframe or squat rack for balance if needed. Accumulate 2-3 minutes total. Shift your weight side to side. Rock forward and back. Own that position.
Step 5: Integrate Into Your Training
Isolated mobility work matters, but true hip freedom comes from using your new range under load.
Before Workouts
Spend 5-7 minutes on the soft tissue work and joint mobilizations. This primes your hips for full range of motion during training.
During Workouts
Pause at the bottom of squats. Add deficit lunges to your programming. Include exercises that demand hip rotation, like Cossack squats or rotational med ball throws.
After Workouts
This is the best time for longer static stretches because your tissues are warm and pliable. Hold positions for 60-90 seconds. Focus on whatever felt most restricted during your training.
Step 6: Address Contributing Factors
Your hips dont exist in isolation. If your thoracic spine is locked up, your hips compensate. If your core is weak, your hip flexors become overactive stabilizers. If your lower back is constantly tight and painful, it’s often a hip mobility issue in disguise.
Spend a few minutes daily on thoracic rotation work. Make sure your core training includes anti-extension and anti-rotation exercises, not just crunches. And pay attention to your daily posture—eight hours of sitting will undo twenty minutes of mobility work if you’re not careful.
Realistic Timeline and Expectations
Expect noticeable improvements in 2-3 weeks with consistent daily work. Significant changes take 6-8 weeks. Complete transformation of long-standing restrictions? Three to six months.
But here’s the encouraging part: you’ll feel differences in your training almost immediately. Your squats will feel smoother. Your sprints will feel more powerful. Your hips just won’t fight you as much.
Commit to 10-15 minutes daily. That’s genuinely all it takes. Your future athletic self will thank you for it.