Why Your Ankles Deserve More Attention
Here’s a stat that might surprise you: ankle sprains account for nearly 25% of all sports injuries. And once you sprain an ankle, you’re 70% more likely to do it again.
Most athletes obsess over their quads, glutes, and core. Meanwhile, their ankles—the foundation of literally every athletic movement—get ignored until something goes wrong. That’s backwards thinking.
Strong, stable ankles improve your cutting ability, jumping power, and landing mechanics. They also keep you on the field instead of stuck on the sideline with an ice pack. I’ve worked with basketball players who added two inches to their vertical just by fixing ankle instability issues they didnt even know they had.
Let’s fix your ankles properly.
Step 1: Test Your Current Ankle Stability

Before diving into exercises, you need to know where you stand. Try these two simple tests:
Single-Leg Balance Test
Stand on one foot with your eyes closed. Time yourself. If you can’t hit 30 seconds without wobbling like a toddler, your proprioception needs work.
Knee-to-Wall Test
Face a wall, put your toes about 4 inches away, and try to touch your knee to the wall without lifting your heel. Can’t do it? You’ve got mobility restrictions that are sabotaging your stability.
Write down your results. You’ll retest in 4 weeks.
Step 2: Build Your Mobility Foundation
Stability without mobility is useless. Your ankle needs adequate range of motion before you can effectively strengthen it.
Banded Ankle Mobilization
Wrap a resistance band around a sturdy post at ankle height. Step into the band so it sits right at your ankle crease (front of the joint). Step forward to create tension, then drive your knee forward over your toes in a slow, controlled lunge.
Do 15 reps per ankle, three times. You should feel a stretch in the back of your ankle, not pain.
Calf Foam Rolling
Your calves directly affect ankle mobility. Tight calves pull on the achilles and restrict dorsiflexion—that’s your ability to bring your toes toward your shin.
Spend 90 seconds per calf on a foam roller. When you hit a tender spot, flex and point your foot 10 times before moving on. This technique works significantly better than just rolling back and forth.
If you’re also dealing with hip tightness that affects your overall movement patterns, check out this guide on improving hip mobility for better athletic performance.
Step 3: Strengthen the Stabilizer Muscles

Now we build strength. Your ankles rely on small muscles that most gym exercises completely ignore.
Resistance Band 4-Way Ankle Series
Sit on the floor with your leg extended. Loop a resistance band around your foot.
- Dorsiflexion: Anchor the band behind you, pull toes toward shin. 15 reps.
- Plantarflexion: Anchor band in front, point toes away. 15 reps.
- Inversion: Anchor band to your outside, turn sole inward. 15 reps.
- Eversion: Anchor band to your inside, turn sole outward. 15 reps.
This hits every ankle muscle from every angle. Do 2-3 sets per direction. The eversion movement is especially important because it strengthens the peroneals—the muscles that prevent the classic “rolled ankle” injury.
Heel Raises with a Twist
Basic heel raises are fine. But single-leg heel raises on an unstable surface? That’s where the magic happens.
Stand on one foot on a folded towel or balance pad. Rise up onto your toes slowly (3 seconds up), pause at the top, then lower even slower (4 seconds down). Do 12 reps per foot.
Once you master that, try doing it with your eyes closed. Your ankles will burn in ways you didn’t know possible.
Step 4: Train Your Proprioception
Proprioception is your body’s ability to sense where it is in space. Athletes with poor proprioception are basically playing sports blindfolded from the ankles down.
Single-Leg Balance Progressions
Start simple and progress weekly:
- Week 1: Single-leg stand on flat ground, eyes open, 60 seconds per side
- Week 2: Same thing, eyes closed
- Week 3: Single-leg stand on a pillow or balance pad, eyes open
- Week 4: Balance pad with eyes closed
Once you’ve mastered these basics, add movement challenges. Have someone toss you a ball while balancing. Do it while turning your head side to side. The more unpredictable, the better your nervous system adapts.
Star Excursion Balance Reach
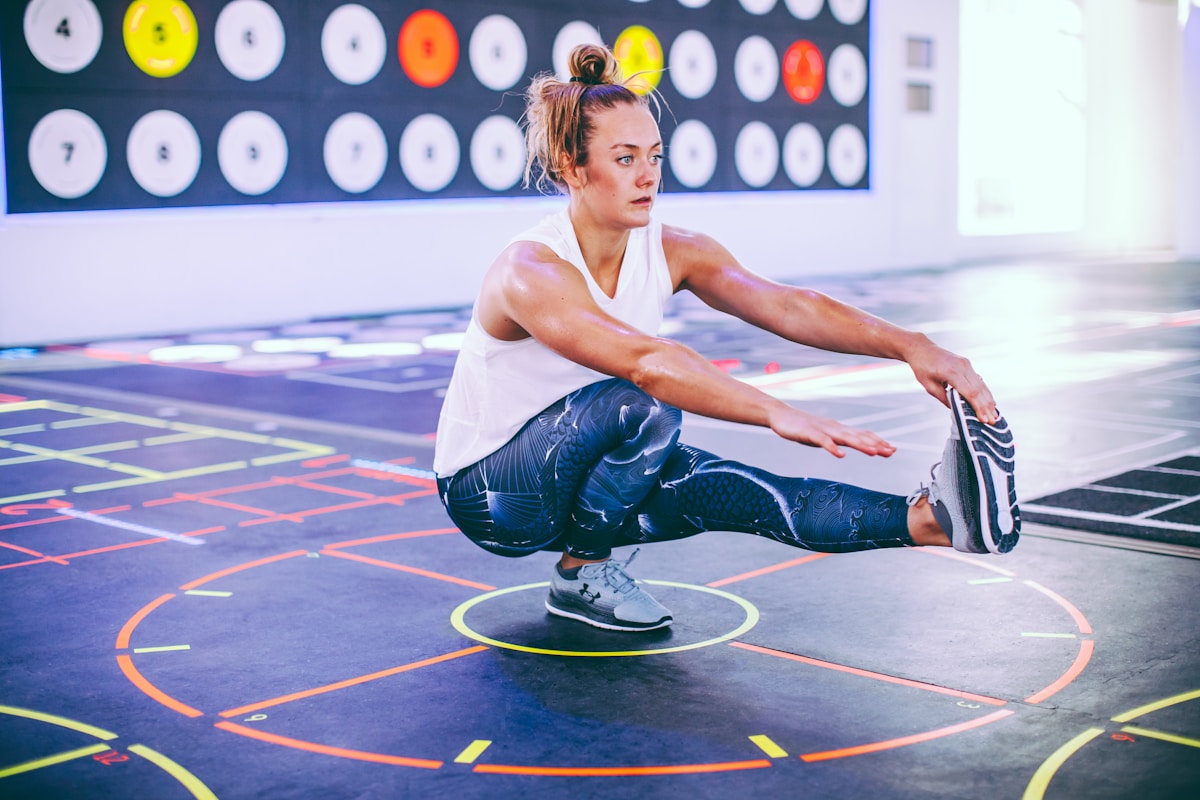
This exercise is a game-changer. Stand on one leg and imagine you’re in the center of a star. Reach your free leg as far as possible in eight different directions while maintaining balance.
Go slow. Touch the ground lightly with your toes at each point, then return to center. Three rounds in each direction. Your glutes and ankles will be screaming by the end.
Step 5: Add Sport-Specific Movements
Generic stability training only gets you so far. You need to train your ankles in patterns that match your actual sport.
Lateral Hop and Stick
Jump sideways about two feet and land on one leg. Here’s the key: stick the landing perfectly for 3 full seconds before hopping back. No wobbling allowed.
Start with small hops and gradually increase distance. Basketball and tennis players should prioritize this drill because lateral cutting is where most ankle injuries happen.
Box Jump Step-Offs
Jump onto a box (start with 12 inches), then step off backwards, landing softly on one foot. Control the landing completely before stepping down with your other foot.
This trains your ankles to handle deceleration forces—exactly what happens when you land from a rebound or come down from a header in soccer.
Direction-Change Drills
Set up four cones in a square. Sprint to each cone while changing direction sharply. Focus on planting hard through your outside foot on every cut.
Your ankles need to experience game-like stress in training. Otherwise, they’ll fail when it actually matters.
Step 6: Don’t Ignore the Rest of Your Lower Body
Ankle stability doesn’t exist in isolation. Weak hips force your ankles to compensate, and poor knee tracking creates abnormal ankle stress.
If you’re experiencing any lower back discomfort during training, address that too—compensation patterns travel down the entire kinetic chain and eventually show up as ankle problems.
Similarly, athletes dealing with knee issues should know that ankle dysfunction is often a contributing factor. Proper ankle mobility reduces stress on the knee joint during running and landing.
Your 4-Week Ankle Stability Program
Here’s how to put everything together:
Monday/Thursday
- Banded ankle mobilization: 3×15 per side
- 4-way resistance band series: 2×15 each direction
- Single-leg balance progression: 3×60 seconds per side
Tuesday/Friday
- Calf foam rolling: 90 seconds per side
- Single-leg heel raises: 3×12 per side
- Star excursion reaches: 2 rounds all directions
- Lateral hop and stick: 3×8 per side
Wednesday
- Sport-specific drills: 15-20 minutes of direction changes, box jump step-offs, or game-simulation movements
Rest on weekends. Your nervous system needs recovery time to adapt.
When to Expect Results
Most athletes notice improved balance within 2 weeks. The real strength gains and injury prevention benefits kick in around week 4-6.
Retest your single-leg balance and knee-to-wall measurements monthly. If you’re not improving, you’re either not training consistently or you need harder progressions.
And one more thing—don’t abandon ankle training once you feel better. The athletes who stay injury-free are the ones who make stability work a permanent part of their routine, not just something they do after a sprain.
Your ankles carry you through every sprint, jump, and cut. Train them like they matter. Because they do.